
Article Detail
21 Oct
Step 1: It’s All About That Base
Prepping the eye area is extremely crucial since it’s all about that base (Meghan Trainor might be talking about a different kind of base, but she’s not wrong!). Start by cleaning the area around the eyes. Follow it up with a moisturizer or an eye cream. Next, prep the eye area with an eye primer so that the makeup stays put for a longer time and gives a seamless finish. You can also use a concealer that matches the skin tone around your eyes. Apply the concealer with a brush and seal it with a translucent or transparent powder. This will make the eye area look even, make the skin crease-proof, and also conceal any discoloration of the skin. It also creates a clean base so that the colors sit better.
Step 2: Chose The Type of Eyeshadow
It’s now time for the actual eye makeup. You should always analyze the shape of your eyes and accordingly decide on a makeup technique that will enhance them. The eye area consists of the eyelid, the crease, and the brow bone. It’s also important that you know which shade or texture to use on each of these areas. Use textures like frost/shimmer/shine on the eyelid and brow bone, and matte finish textures on the crease.
Pro Tip– Use darker shades of eyeshadows to contour the eyes at the crease and use lighter shades at the center of the eyelids to make the eyes pop.
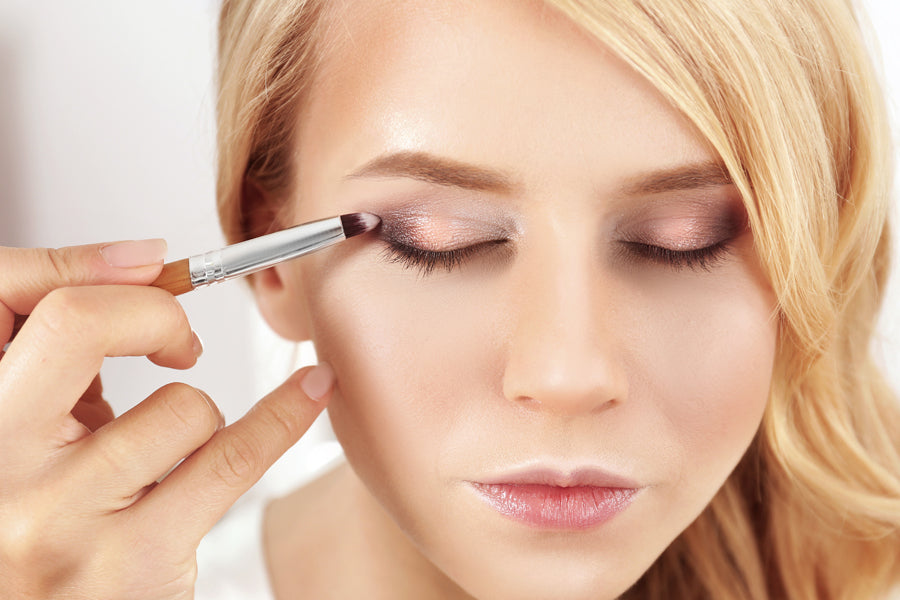
Start by applying the color on the eyelid with a flat eyeshadow brush using a sweeping or patting motion. Here, a dull gold shade in frost texture was used, since there is very less lid space. This lighter shade will make the eyelid more prominent. Start the application from the center and then sweep it towards both inner and outer corners. Apply the color evenly on the lid and deposit more for intensity.
Step 3: Dark Shades for the Crease
Now, we concentrate on the crease area. Use a darker shade of eyeshadow to define the eye shape. To achieve this, go for shades like deep browns, black, deep gray, dark purple, etc. Start applying from the outer corner of the eye, making a ‘V’, and blend it halfway through the eyelid with a fluffy eyeshadow blending brush. Do this using the windshield wiper motion. Keep blending until the color starts to look softer. In order to highlight the brow bone, go for lighter shades in either frost or shimmer textures.
Step 4: Rim The Eyes With Kohl
To make the eye makeup more dramatic, use a kohl pencil on the lower lash line. Smudge it with a smudger/pencil brush if you want a smokey effect.
Pro Tip – Using a white/beige colored eye pencil on the lower rims of the eyes is the best way to make them look bigger and brighter.
Step 5
Apply eyeliner to define the eyes. Start from the outer corner and gradually pull it inwards using small strokes. You can keep it simple, or make it dramatic. And, when in doubt, just wing it out!